This link type allows for complete flexibility to link to tools, resources, and articles on other websites, but it's also commonly used to make direct links within your own site—such as highlighting blog posts or other featured content.
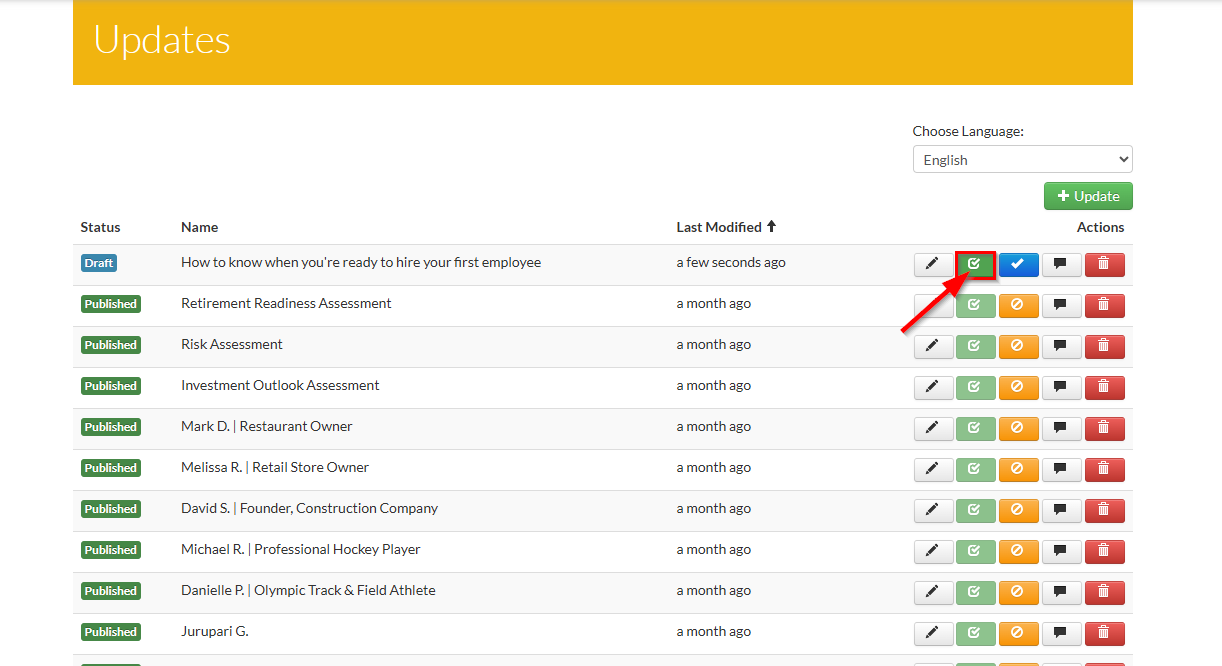
1. Navigate to Updates.

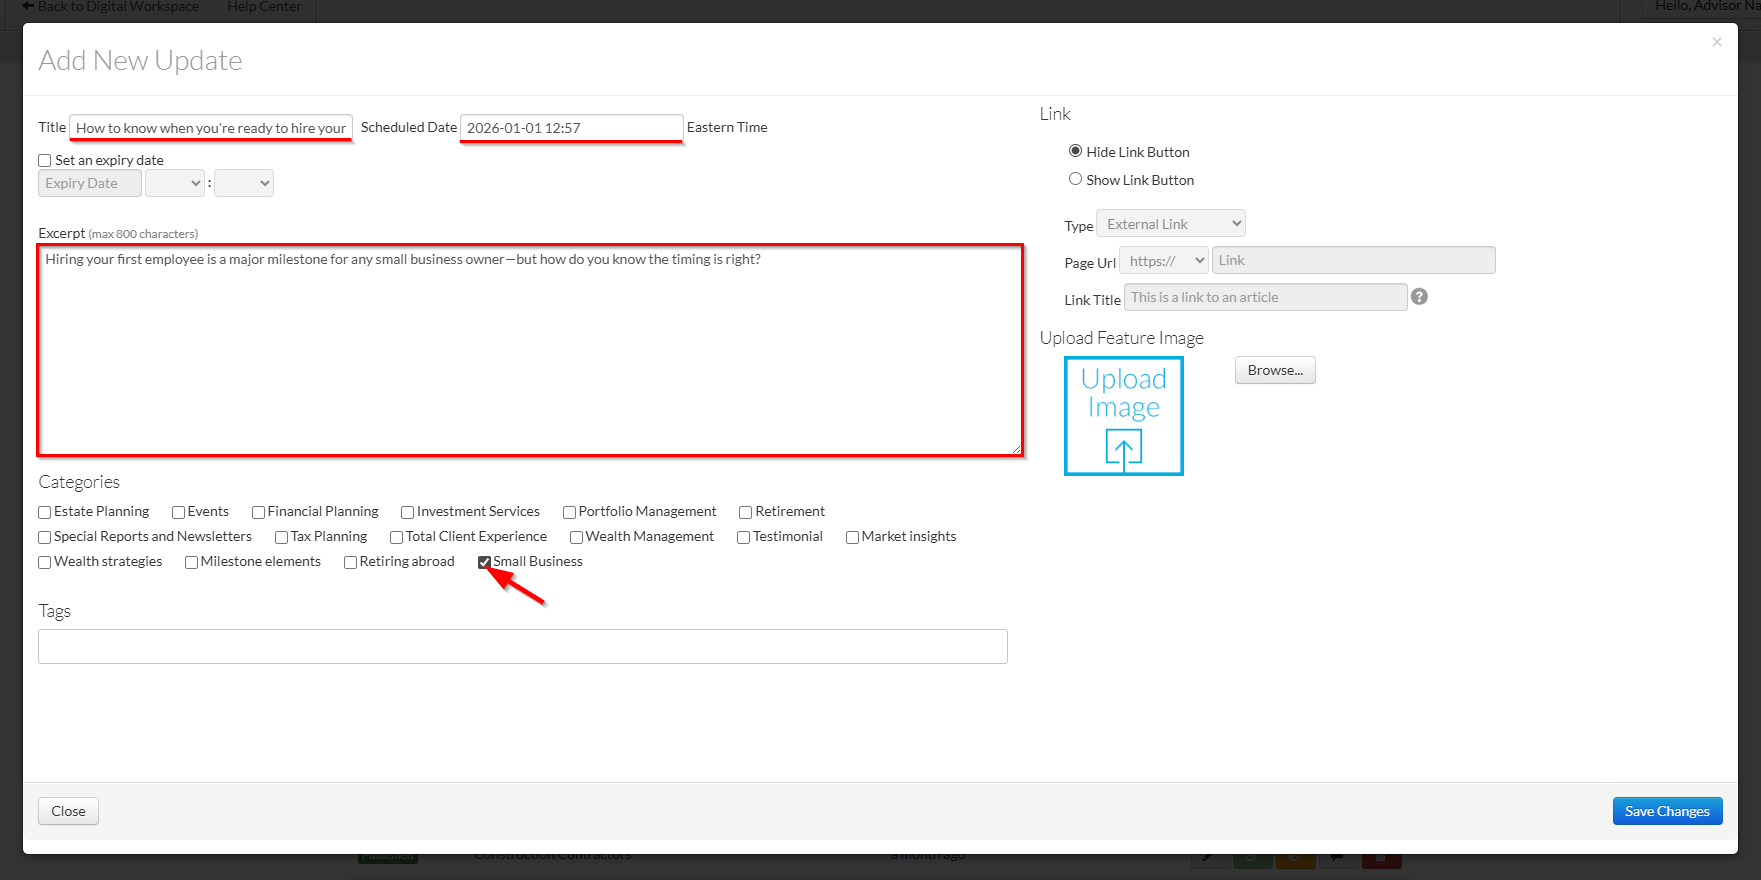
2. Click on +Update or of the update you want to edit to up the Updates Editor.

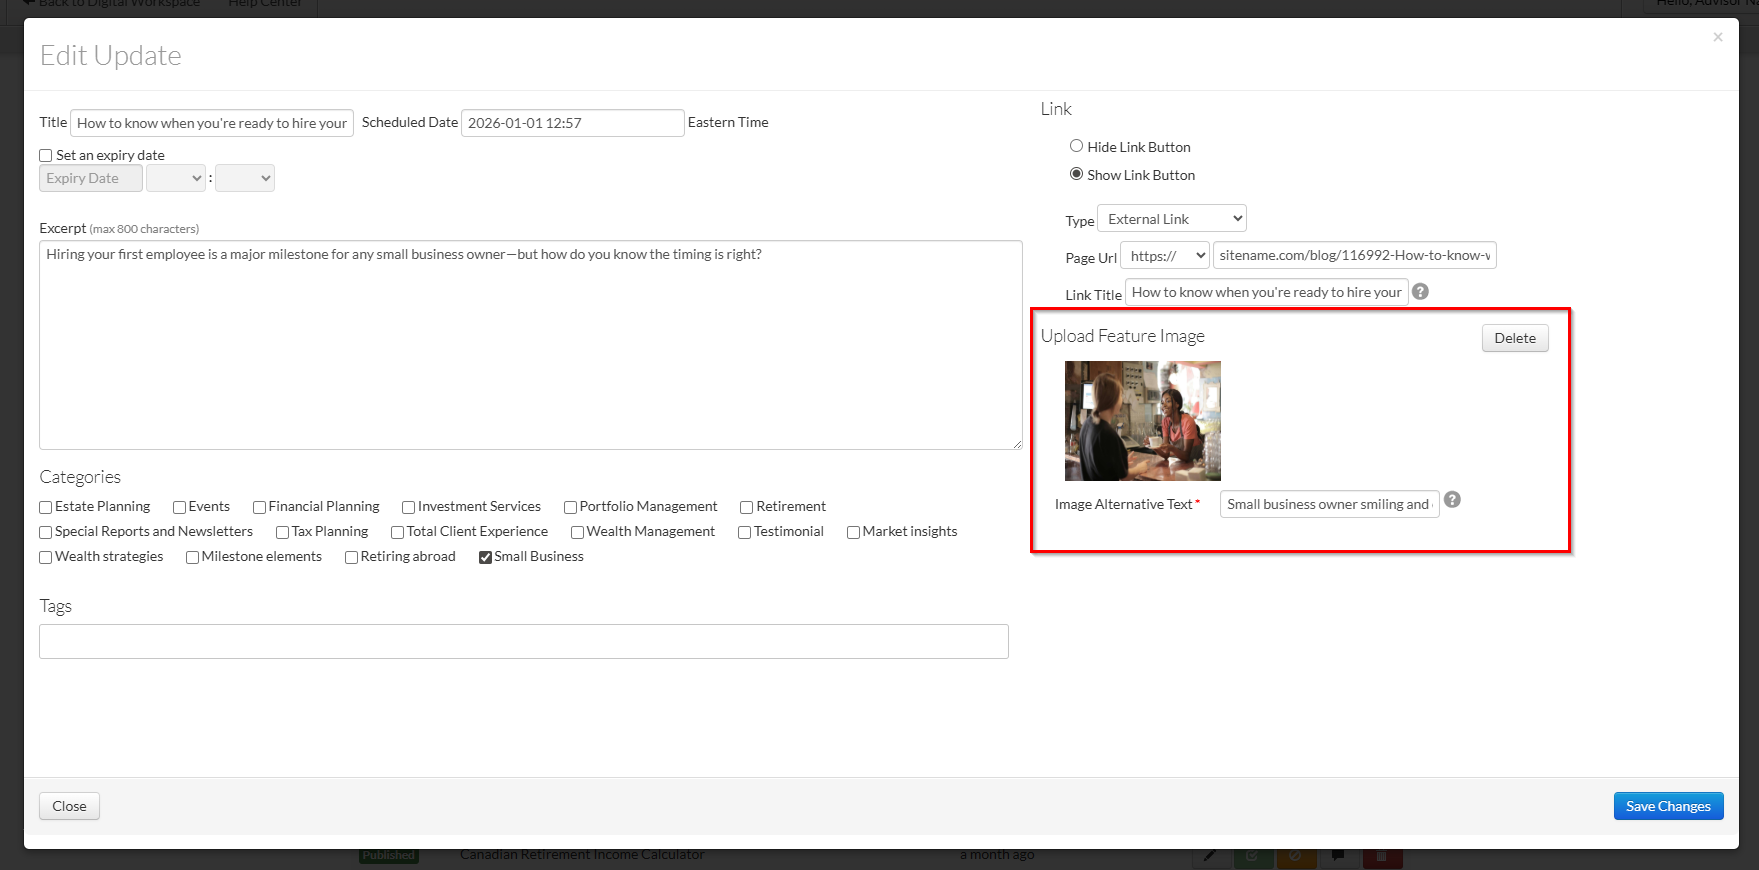
3. Add in the information you'd like to display in the Update widget.
Note: If you're using a List View, only the Link Title (see step 6) and Scheduled Date will display.
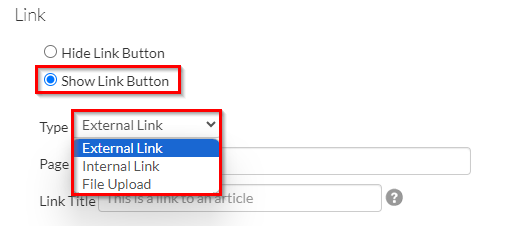
4. Select External Link from the Type drop-down.
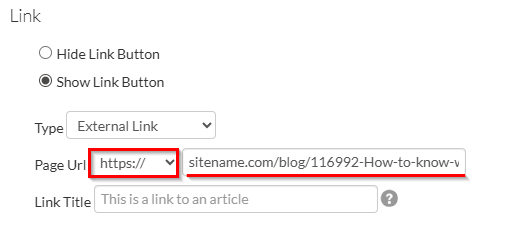
5. Copy and paste your link into the Link field. Make sure you remove the "http://" from your link URL and select "https://" in the drop-down menu.
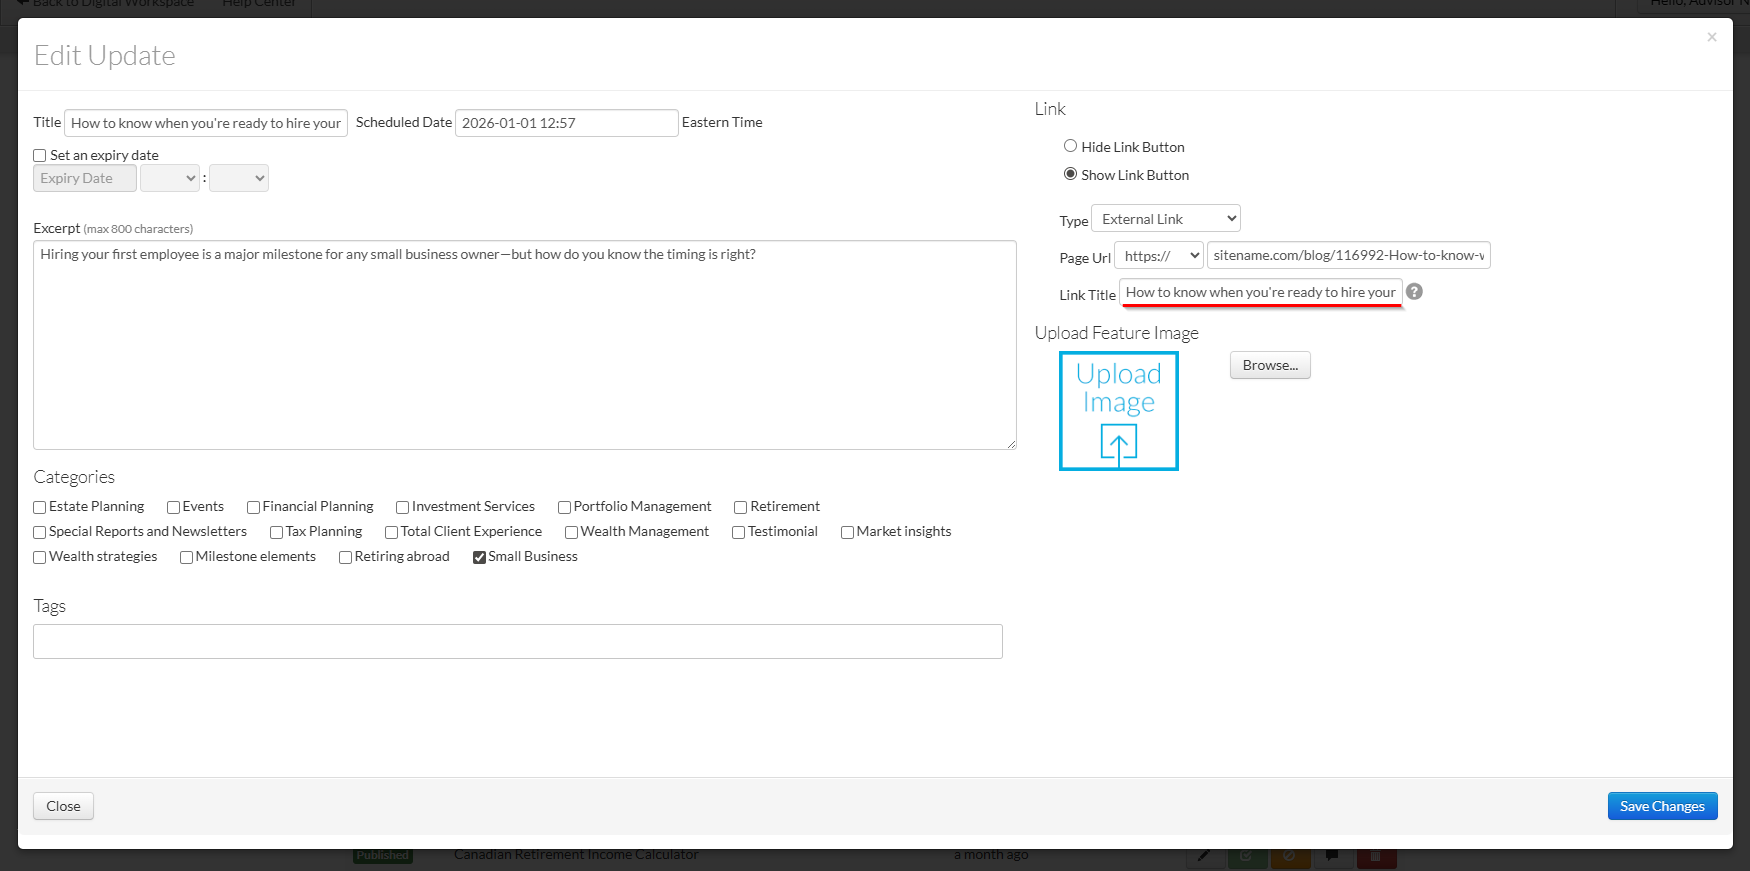
6. Add a Link Title (eg. "Read More", "Learn more about how we help business owners", or a similar call to action). The Link Title is what will be displayed to your audience instead of the page URL.
Note: If you're using a List View, your Link Title should be the same as your Title.
7. If you’re using Grid View, we recommend adding a Feature Image to make your update more visually engaging and eye-catching for viewers. Including an image helps your content stand out and encourages users to click through to read more.
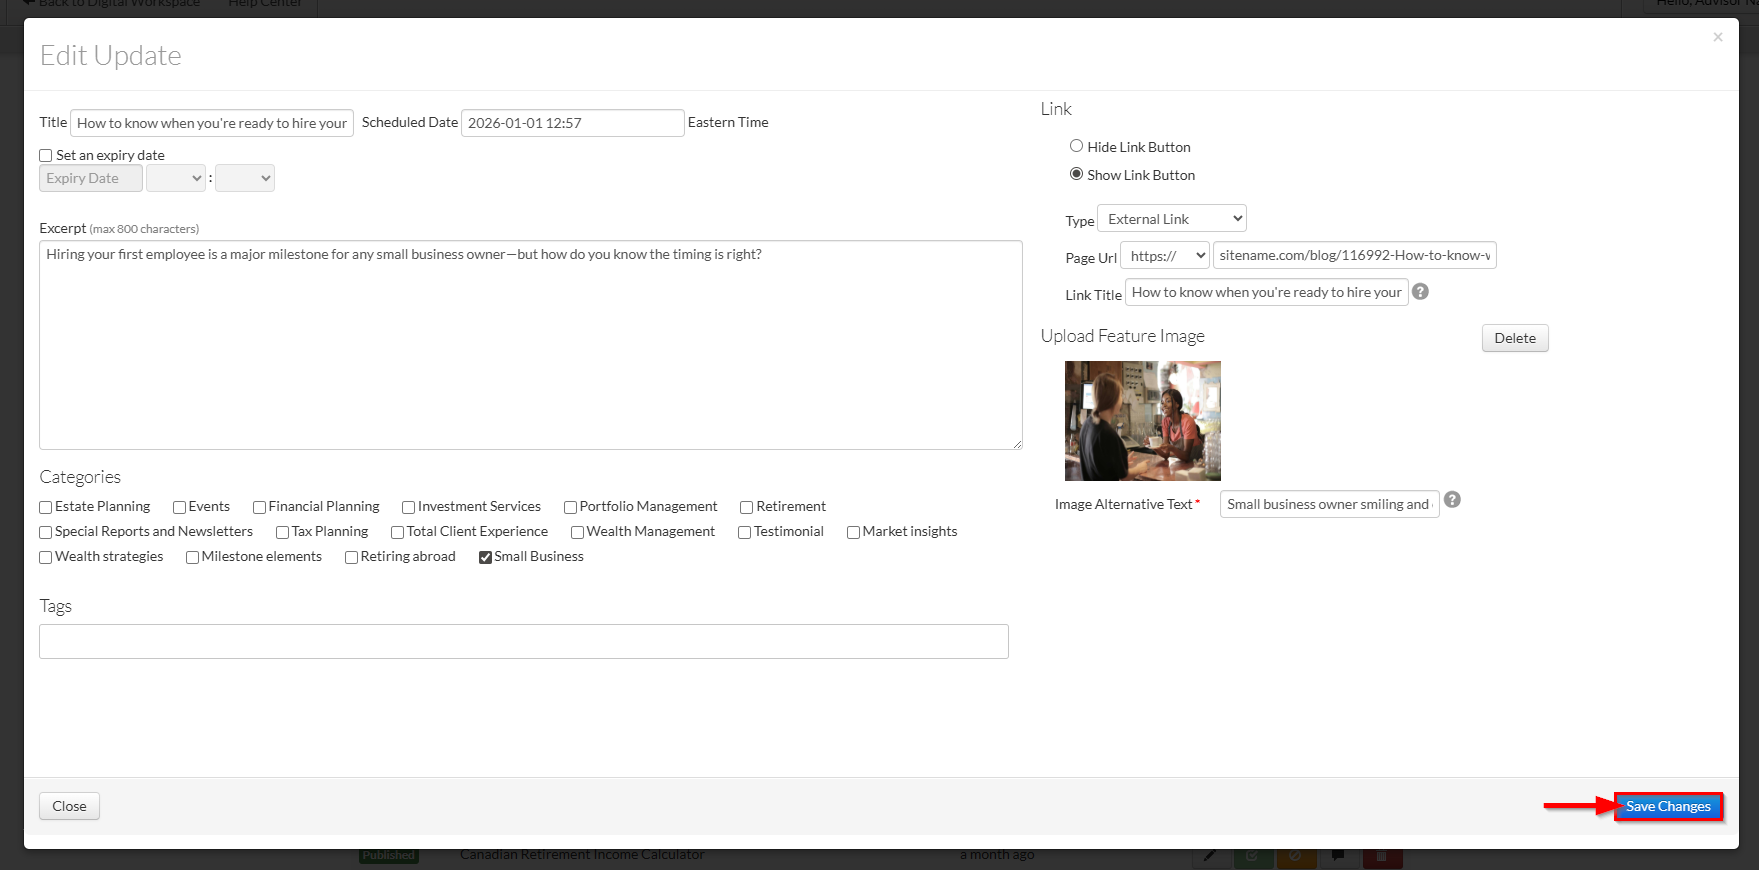
8. Once you've added your information, click Save changes to save your update as a Draft.
9. Click the green Submit for Approval button to submit it to Compliance for approval.
⚠️ Important: Your Update must be Approved before it can be displayed on your site.
After your Update has been approved, it may be displayed on your site using a few different methods.
To display your update(s) through Content Collections, see:
Was this article helpful?
That’s Great!
Thank you for your feedback
Sorry! We couldn't be helpful
Thank you for your feedback
Feedback sent
We appreciate your effort and will try to fix the article