Within the Digital Agent, we can view our website’s metrics for the time period that it has been set live. From the Digital Workspace, navigate to Dashboard 2.0.
Setting a time frame
You can define the time frame you’d like to view your website’s metrics for by selecting one of the pre-set time frames in the top-right corner:
- This Month
- Last Month
- Last Year

Custom time frame
You can define a custom time frame by selecting a start date and then end date in the calendar and clicking the Apply button.
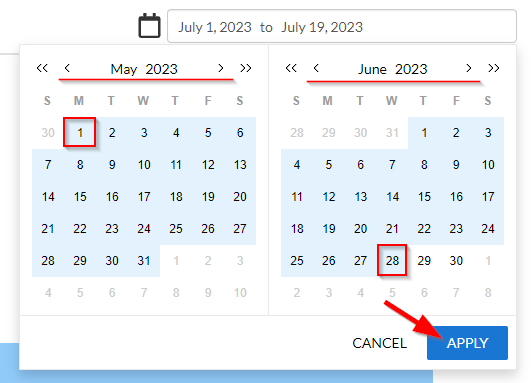
Alternatively, you may also type the dates directly into the field and hit the Enter key. This will update the metrics shown for the date range you have specified.

Was this article helpful?
That’s Great!
Thank you for your feedback
Sorry! We couldn't be helpful
Thank you for your feedback
Feedback sent
We appreciate your effort and will try to fix the article