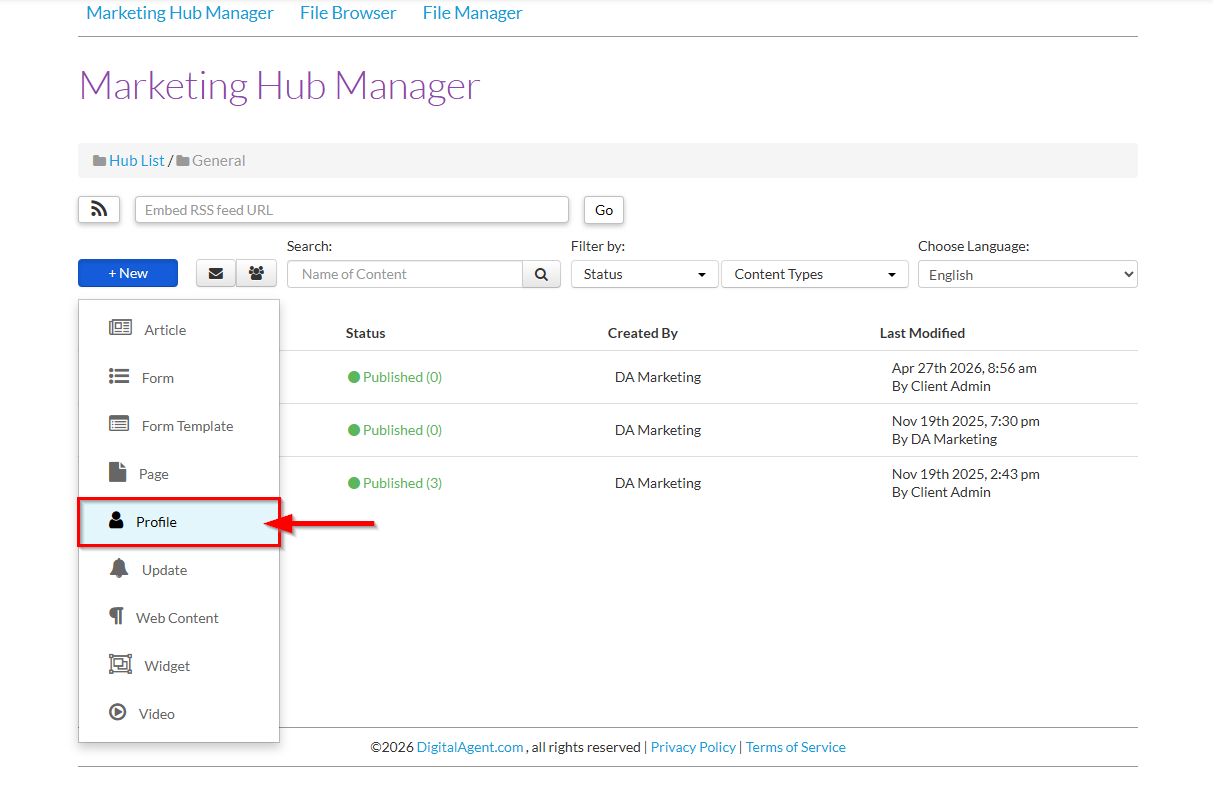
1. Within a Marketing Hub, click +New and select Web Content from the drop-down to open the Profile editor.
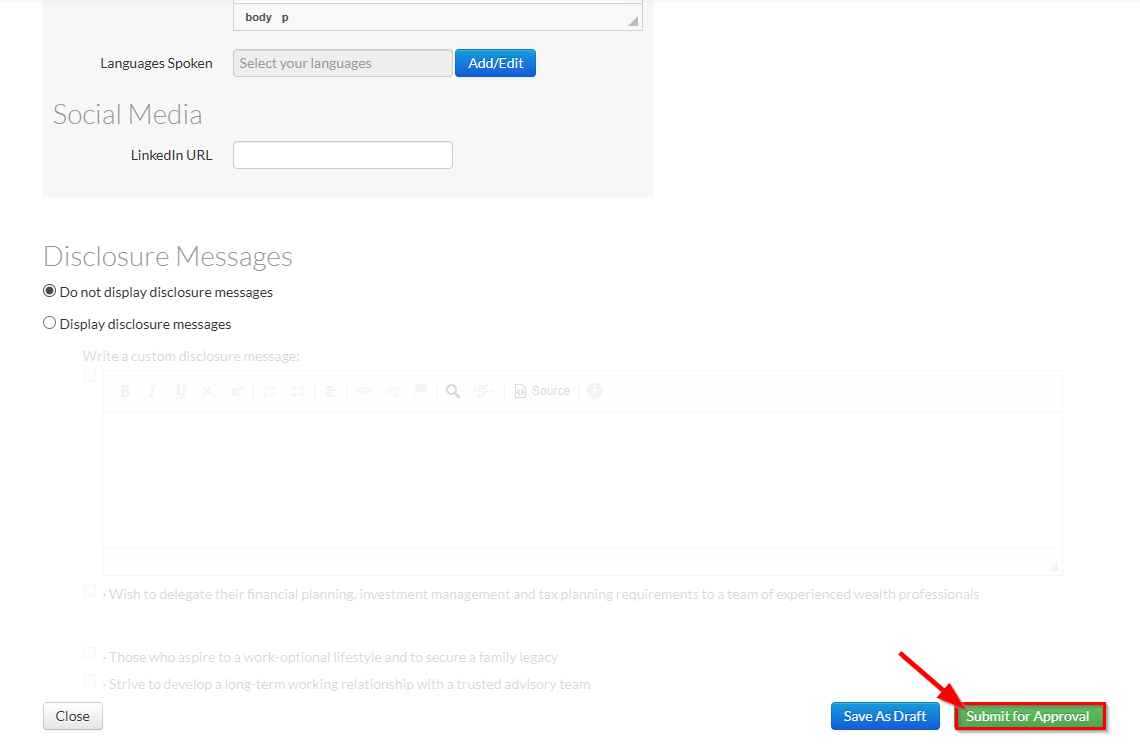
2. Fill in the pre-approved profile information.

3. When finished, select either Save As Draft to keep it in an draft/unpublished state, or Submit for Approval to publish your content.
- If your Marketing HQ is connected to a compliance queue, the content will be submitted for approval.
- If your Marketing HQ is not connected to a compliance queue, it will be automatically published.
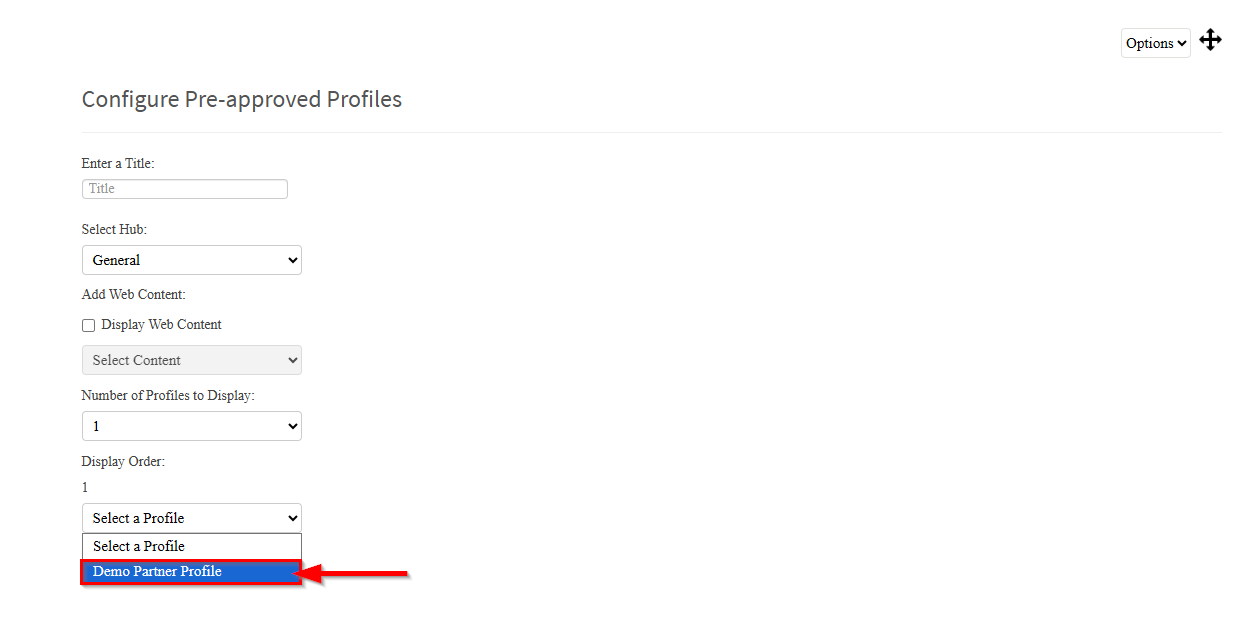
After being published, any users may add the profile to their website using the Pre-Approved Profile Widget.
The profile will be available for selection to any user who has access to the marketing hub.

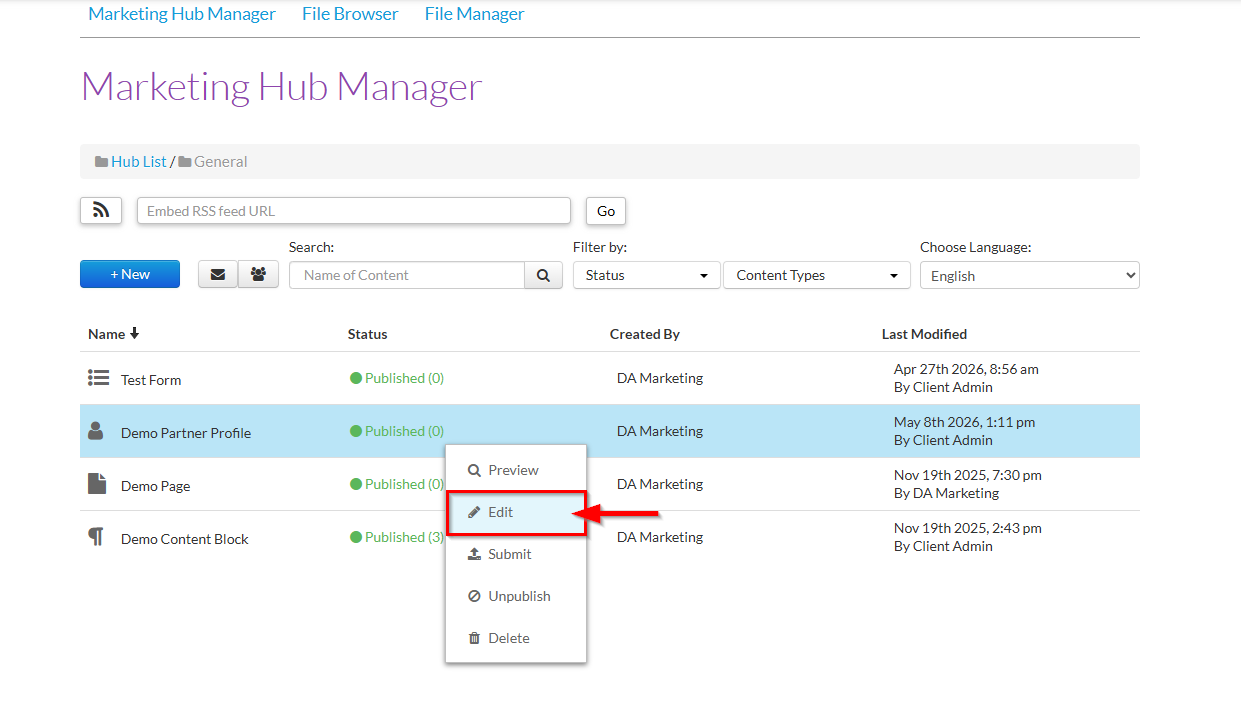
Editing the Pre-Approved Profile
At any time, you can make changes to the profile at any time by right-clicking the profile in the marketing hub and selecting Edit.
Was this article helpful?
That’s Great!
Thank you for your feedback
Sorry! We couldn't be helpful
Thank you for your feedback
Feedback sent
We appreciate your effort and will try to fix the article